The Complete Guide to Painting Kitchen Cabinets (DIY vs. Professional)
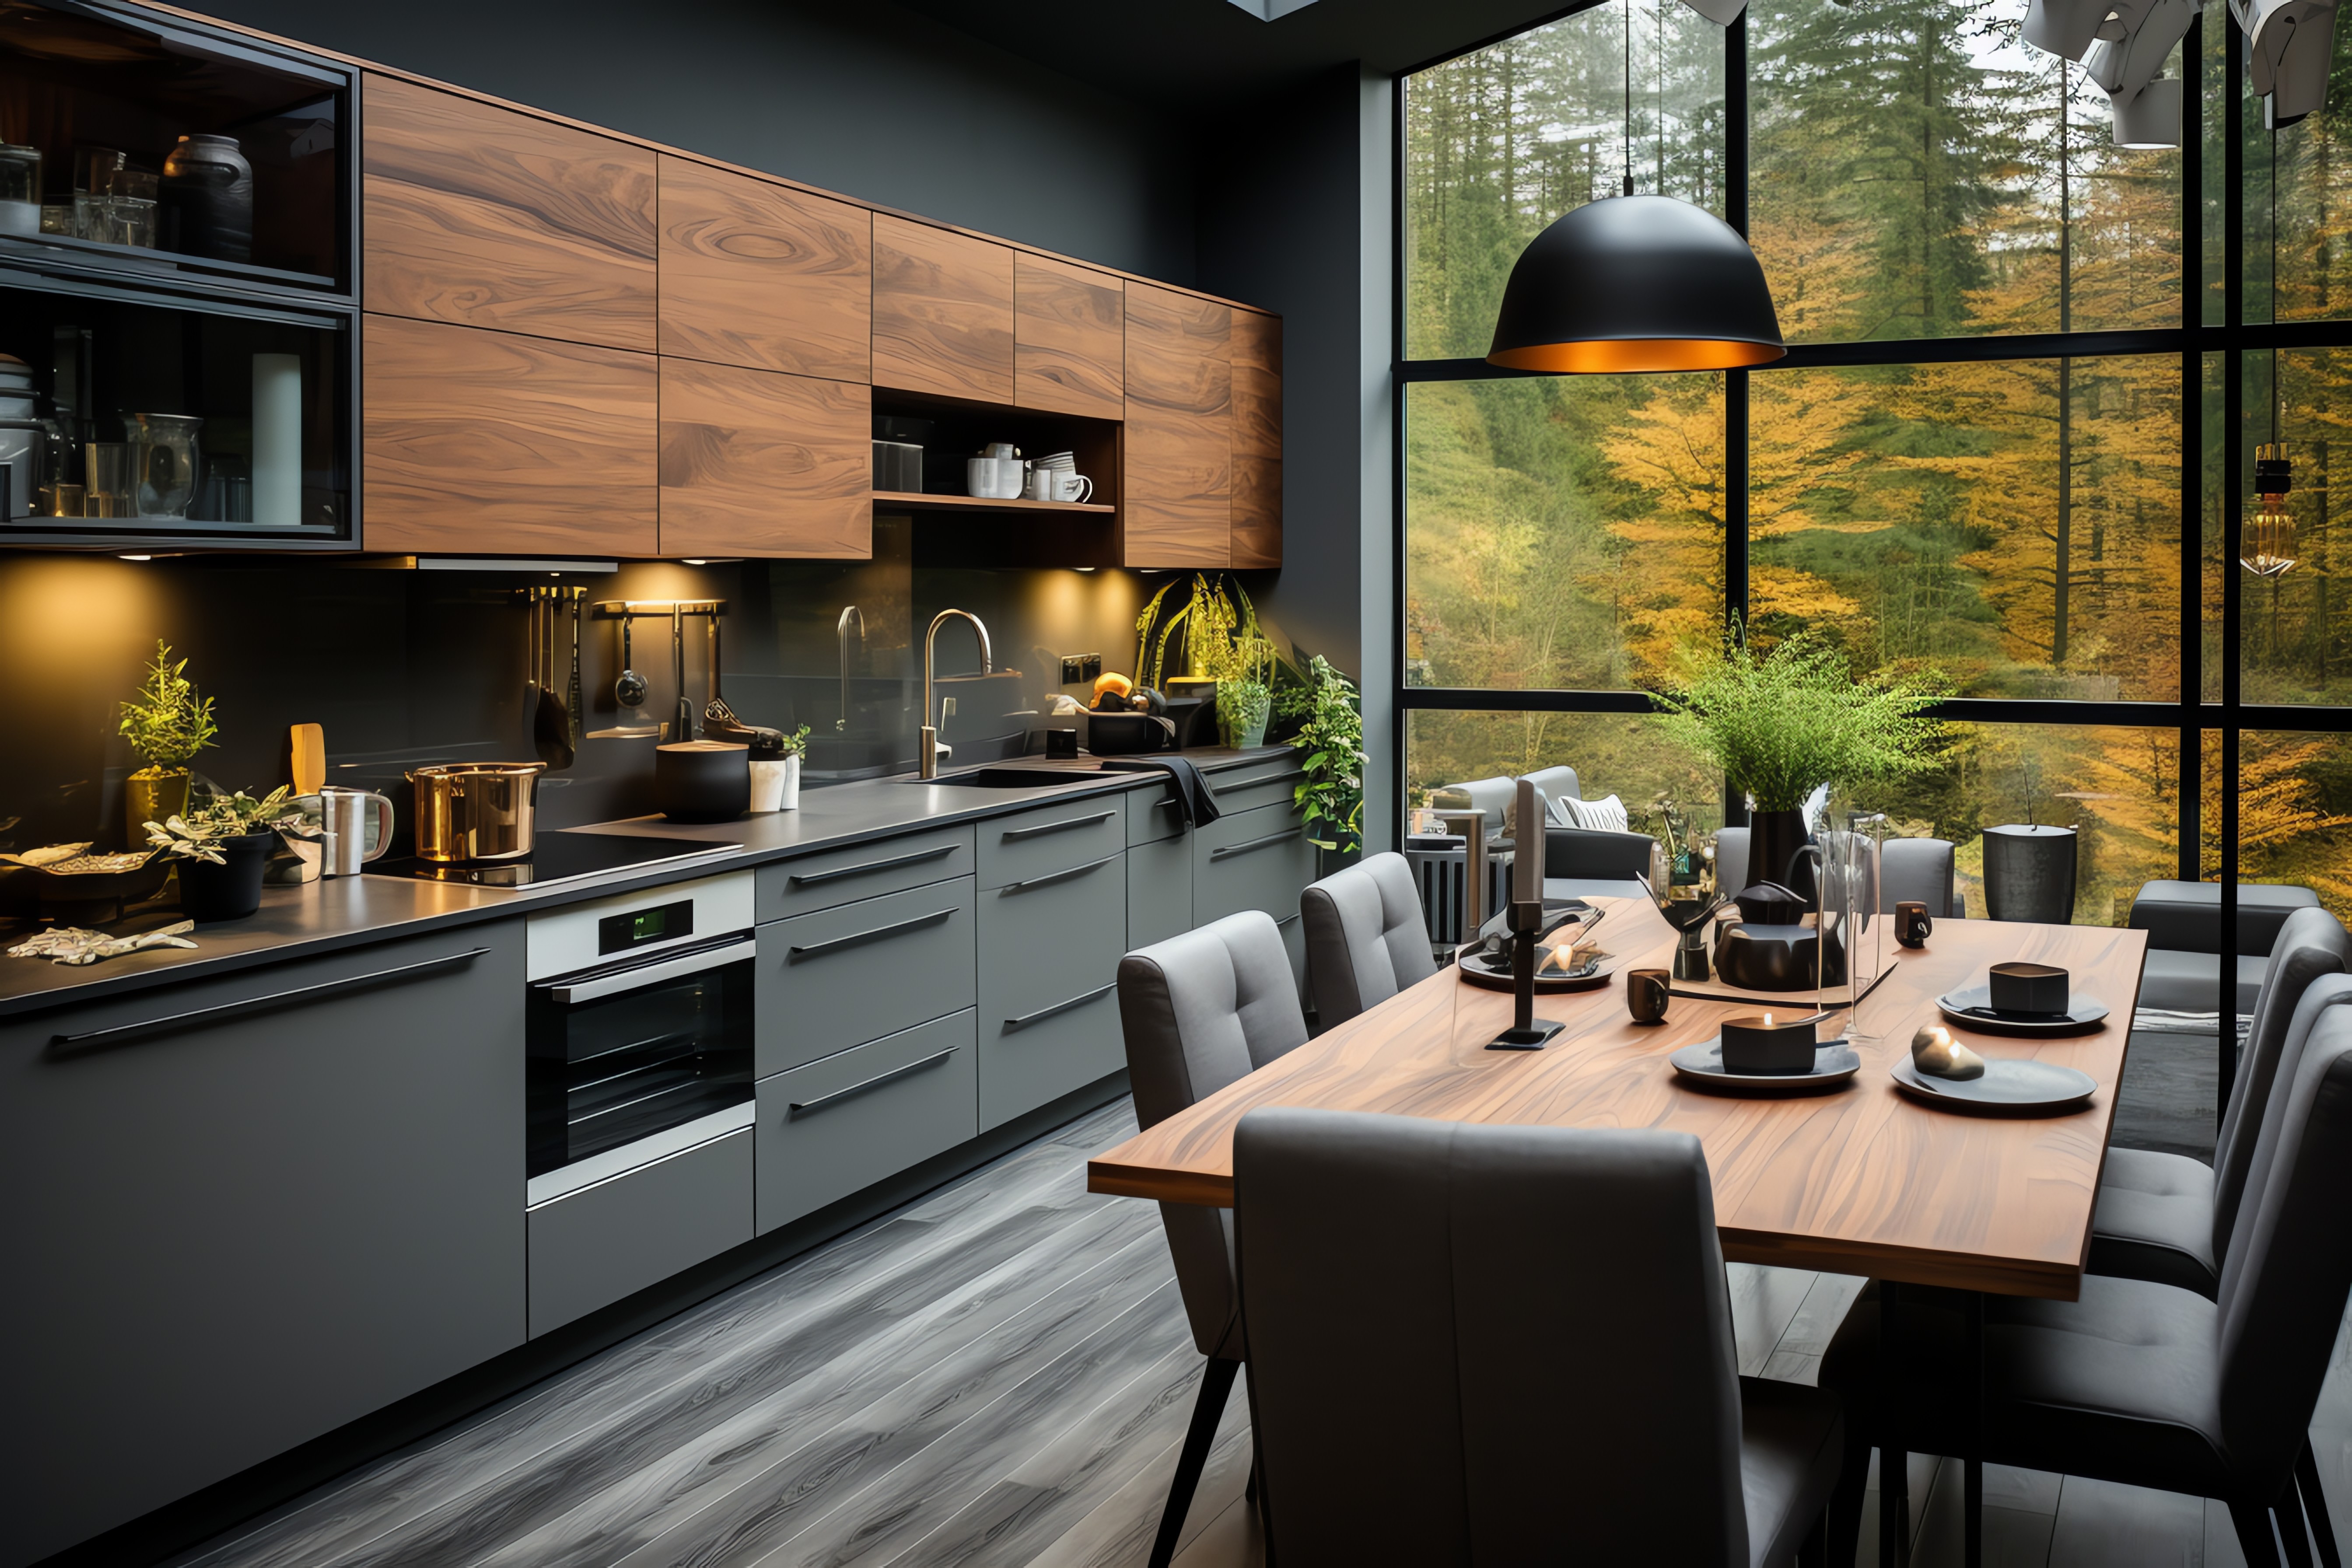


Kitchen cabinets define the look and feel of your entire kitchen. When your cabinet doors start showing wear or the cabinet colors feel dated, you face a choice: tackle the project yourself or hire professional painters. This guide walks you through everything you need to know about how to paint kitchen cabinets, from selecting the best paint to understanding when DIY makes more sense and when to call in the pros.
The foundation of any successful cabinet painting project starts with selecting the right paint. Your kitchen cabinets endure constant use, exposure to grease, and frequent cleaning. The paint you choose needs to deliver a durable finish that withstands this heavy use.
Oil-based paint has been the traditional choice for painting cabinets. It creates an exceptionally smooth finish with excellent durability. However, oil-based options come with drawbacks: longer drying time, difficult cleanup, and strong fumes that require good ventilation.
Modern water-based paints have evolved dramatically. High-quality paint formulas like Benjamin Moore Advance deliver professional-looking results that rival oil-based products. These advanced formulas are self-leveling, which helps eliminate brush marks and creates a factory-smooth appearance.
Benjamin Moore Advance stands out as a game-changer in cabinet paint. This hybrid alkyd formula combines the best properties of oil and latex. BM Advance provides excellent adhesion, minimal brush strokes, and a long-lasting finish. It works beautifully on kitchen cabinets and comes in multiple sheens.
Sherwin Williams offers several excellent options for cabinet painting. Their cabinet refinishing guide recommends Emerald Urethane Trim Enamel for its superior durability and smooth application.
The sheen you choose affects both appearance and durability:
Preparation determines the quality of your finished product. Professional painters know that prep work makes all the difference between a job that lasts years and one that chips within months.
Start by removing cabinet doors, hinges, and all hardware. Label each door and its location to simplify reinstalling. This step prevents paint buildup on hinges and creates cleaner results.
Kitchen cabinets accumulate grease, cooking oils, and grime. Use a degreaser or TSP (trisodium phosphate) to thoroughly clean all surfaces. Pay special attention to areas around handles and high traffic areas where grease builds up. Let everything dry completely before moving forward.
Sand all surfaces with 220-grit sandpaper. You don't need to remove the existing finish completely, just rough up the surface enough for the new paint to stick. This step is crucial for good adhesion. Wipe away dust with a tack cloth.
Examine your cabinet doors and frames for damage. Fill any holes, dents, or imperfections with wood filler. Sand these areas smooth once the filler dries. This creates a good shape for paint application.
Never skip primer. A bonding primer creates the foundation for your paint job. Use a high-quality primer designed for the surface you're painting. INSL-X Stix works excellently on glossy surfaces, while Fresh Start handles most other applications.
Even experienced DIYers make mistakes when painting cabinets. Understanding these pitfalls helps you avoid costly errors.
The biggest mistake? Rushing through or skipping prep work. Cabinet paint needs properly prepared surfaces to stick. Grease, dirt, or glossy finishes prevent paint adhesion, leading to peeling and chipping down the road.
Quality tools matter. Cheap brushes leave visible brush marks. Invest in a foam roller for flat surfaces and a high-quality angled brush for detailed work. Professional painters often use paint sprayers for the smoothest results, but these require more skill and equipment.
Most cabinet painting projects need primer plus two coats of paint minimum. Some darker cabinet colors or significant color changes may require additional coats for proper coverage. Fewer coats compromise durability and appearance.
Rushing the process leads to problems. Each coat needs adequate drying time before you apply the next. Water-based paints dry faster than oil-based, but both need time to cure properly. Benjamin Moore color experts recommend waiting 24 hours between coats for the best finish.
Temperature and humidity affect how paint performs. Most cabinet paints work best between 50°F and 90°F with lower humidity. Hot, humid conditions extend drying time and can cause issues with the final coat.
Understanding the true cost helps you make an informed decision about painting your kitchen cabinets yourself or hiring professionals.
When you paint kitchen cabinets yourself, material costs typically run $200-$600 for an average kitchen:
Add significant time investment. Expect to spend 20-40 hours on a complete kitchen cabinet painting project, spread over several days to allow for proper drying time.
Professional painters typically charge $425-$1,465 for cabinet painting, with most projects averaging around $940. Larger kitchens with more cabinet doors and complex layouts cost more.
What you get for this investment:
The cost difference might seem significant, but consider the value. Professional finish quality often surpasses DIY results. You also avoid the trial and error process, potential mistakes, and the considerable time investment.
For those tackling their first cabinet painting project, the learning curve can be steep. What pros accomplish in 2-3 days might take you 1-2 weeks when accounting for drying time and working around your schedule.
Longevity depends on several factors: paint quality, preparation quality, application technique, and ongoing use.
Well-executed DIY cabinet painting can last 5-7 years with proper care. The key factors:
Lower-quality paint or rushed preparation typically shows wear within 2-3 years. Common issues include chipping around cabinet doors, wear on lower cabinets near high-traffic areas, and finish breakdown from cleaning products.
Professional painters deliver results that last 8-10 years or more. Several advantages contribute to this durability:
Expert surface preparation: Professionals know exactly how to prep properly. They identify potential adhesion issues and address them before paint application.
Professional finish techniques: Whether using spray equipment or premium brushes and rollers, pros apply paint with consistent thickness and coverage. This creates a more durable finish.
Commercial-grade materials: Professional painters often access trade-only products with superior formulations. These paints may include additional hardeners or performance enhancers not available in retail stores.
Proper curing: Pros typically apply a top coat or protective finish, then ensure proper cure time before you resume normal kitchen use.
Regardless of who does the work, these factors impact how long your cabinet paint lasts:
Ready to tackle the project yourself? Follow these steps for the best results.
1. Set Up Your Work Space
Create a clean, well-ventilated area for painting. Cover floors and countertops with drop cloths. Good lighting is essential for spotting imperfections.
2. Remove Everything
Take down all cabinet doors and remove hardware. Keep hinges and screws organized. Clean and degrease every surface, including the cabinet frames and inside edges.
3. Sand All Surfaces
Sand to create texture for paint adhesion. Focus on getting an even surface rather than removing all the existing finish. Wipe away all dust with a tack cloth.
4. Apply Primer
Use a foam roller for large flat areas and an angled brush for detailed trim work. Let primer dry completely (typically 24 hours) before painting.
5. Apply the First Coat
Work systematically. Paint the back of doors first, let them dry, then paint the fronts. Use long, even strokes to minimize brush marks. The paint should flow smoothly without leaving heavy ridges.
6. Sand Between Coats
Lightly sand with 220-grit sandpaper after the first coat dries. This removes any slight imperfections and creates better adhesion for the second coat. Wipe clean with a tack cloth.
7. Apply the Second Coat
The second coat provides full coverage and the final color. Take your time for the best finish. Some projects need a third coat for complete coverage, especially with significant color changes.
8. Let Everything Cure
While the paint may feel dry to the touch in hours, it needs days to cure properly. Wait at least 48 hours before handling cabinet doors carefully. Full cure takes 2-4 weeks. Avoid aggressive cleaning or heavy use during this period.
9. Reinstall Hardware and Doors
Once fully cured, carefully reinstall cabinet doors and hardware. Check alignment and make any necessary adjustments.
While DIY cabinet painting is achievable, certain situations favor hiring professional painters.
Kitchens with extensive trim work, many cabinet doors, or intricate details challenge even experienced DIYers. The whole kitchen transformation requires consistent quality across dozens of surfaces. Professionals maintain that consistency.
Cabinet painting is time-intensive. If you can't dedicate multiple weekends to the project, professionals complete the work in days instead of weeks.
Achieving a factory-smooth, professional finish requires skill and the right equipment. If you want results that look professionally done, hiring pros eliminates the trial and error.
The entire home or multiple rooms become overwhelming for DIY. The material costs and time investment add up quickly. Professional painters work more efficiently on larger projects.
Professional painters typically offer warranties on their work. At Legacy Painting, our interior painting services include a 3-5 year warranty. If issues arise, we address them. This peace of mind has value beyond the cost difference.
Proper care extends the life of your cabinet paint, whether you DIY or hire professionals.
Painting kitchen cabinets transforms your entire kitchen's feel without the expense of full cabinet replacement. Whether you choose the DIY route or hire professional painters depends on your skills, time, budget, and desired results.
Quality paint, thorough preparation, and proper technique create beautiful, durable results. Products like Benjamin Moore Advance and Sherwin-Williams Emerald provide the performance kitchen cabinets need. Taking time to prep properly and applying the right number of coats makes all the difference in longevity and appearance.
If you're in Yorktown, Virginia or the surrounding areas and want professional results backed by a warranty, contact Legacy Painting for a free consultation. Our experienced team delivers factory-smooth finishes that last for years. We handle everything from prep work to final cleanup, so you can enjoy your beautifully transformed kitchen without the stress of a DIY project.
Call us at 757-291-4550 to discuss your kitchen cabinet painting project. Let's create the kitchen you've been dreaming of.
.avif)
.avif)

